Automate Your Daily Reporting Using Python & Google APIs
Imagine a world in which you never have to copy and paste values, tables, and charts into a presentation again. Google Workspace Solutions takes this concept and turns it into reality. REST APIs make it easy to programmatically interact with your Google Workspace and automate tasks with simple code. By developing a Python script that integrates with Google Drive, Sheets, and Slides, I am able to automate the report creation process that is usually performed manually by data analysts or account managers. This post will walk you through how you can leverage Google Developer Tools to automate your reporting and save valuable time for your organization.
The Solution
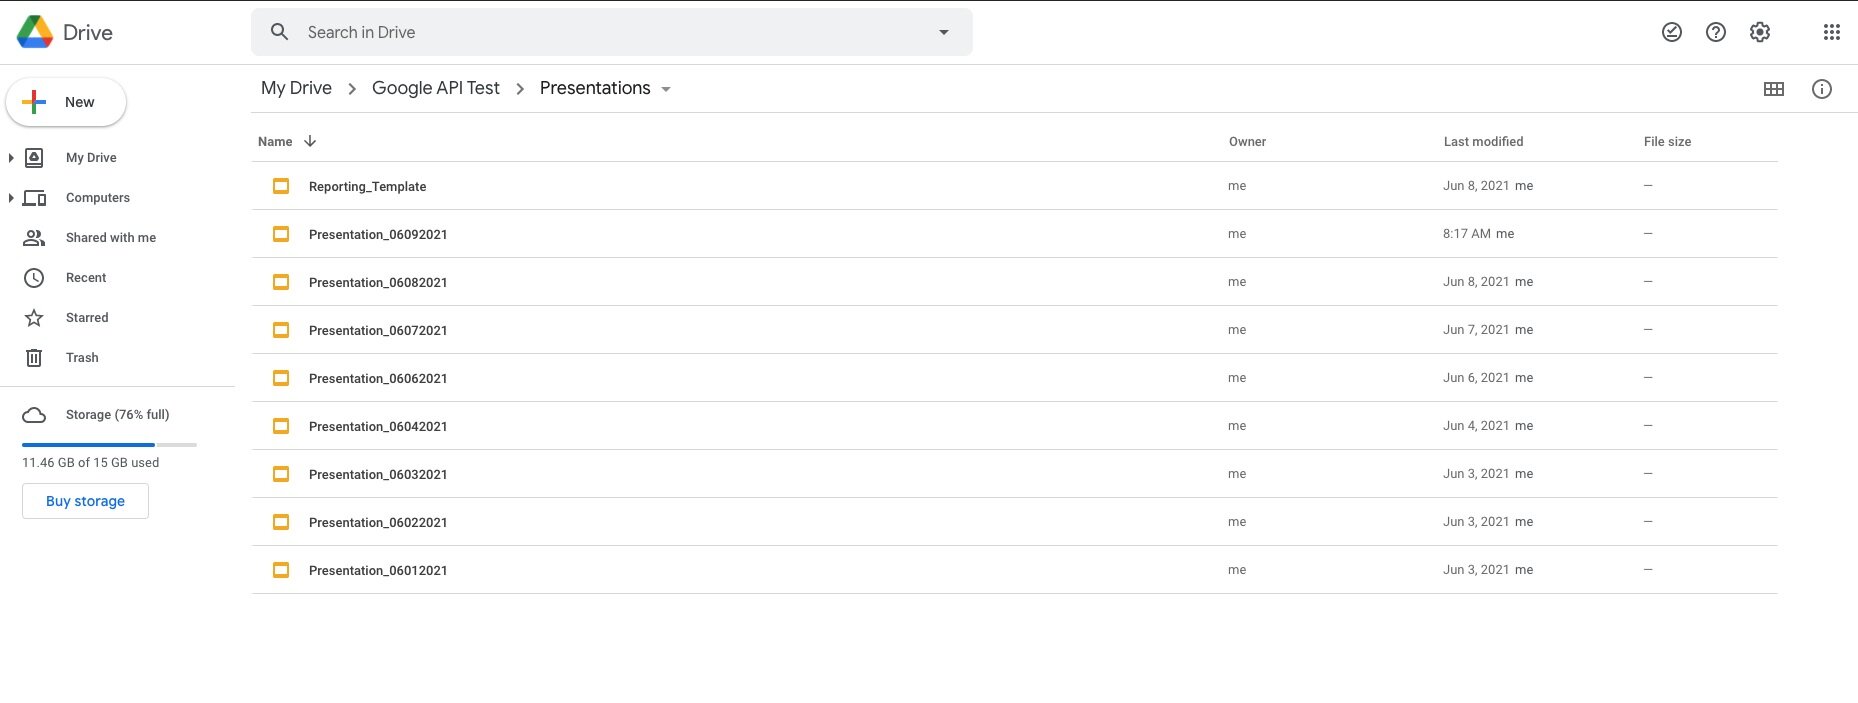
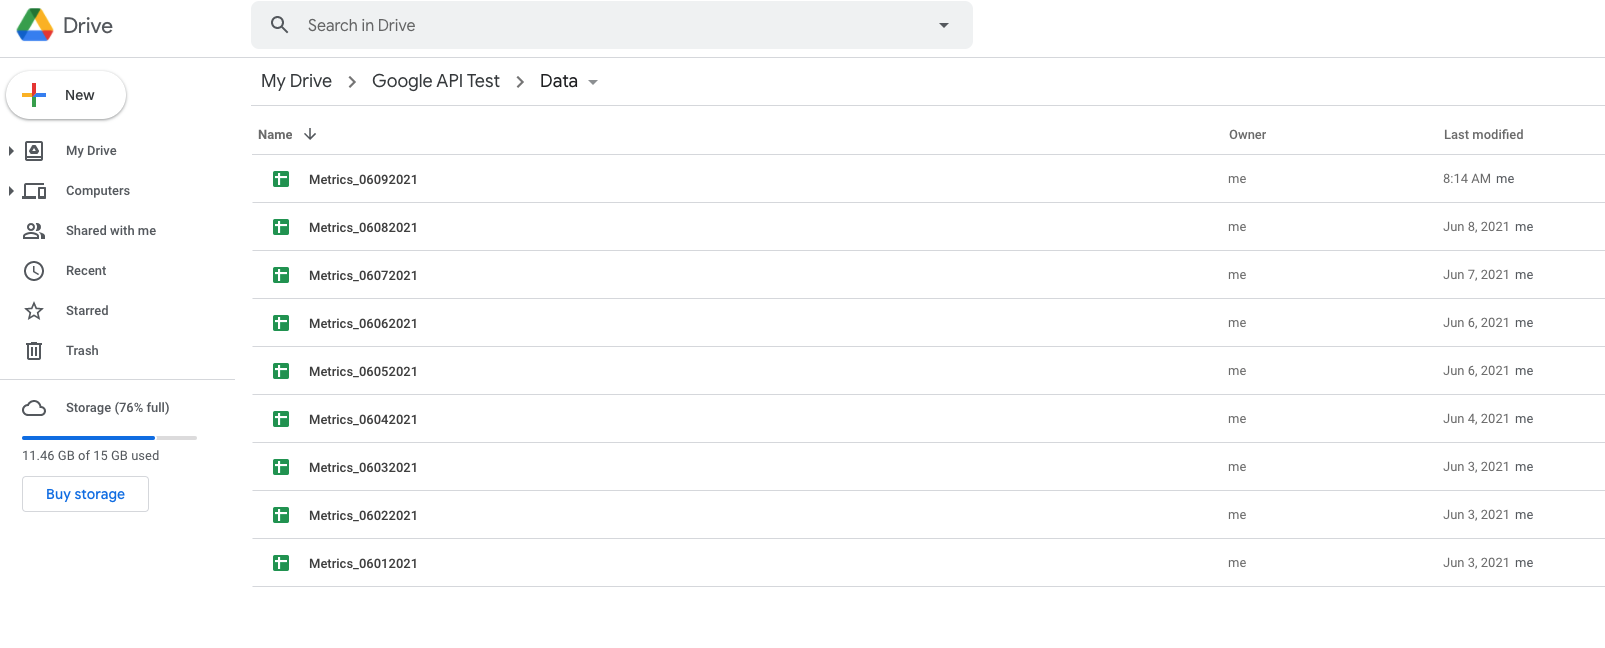
Assumptions - This solution was designed under the assumption that your organization can generate a daily Google Sheet that contains daily or cumulative data in a Google Drive folder. These Google Sheets may have data all on one sheet or across multiple sheets. These Google Sheets can contain tables or charts. The Google Sheets will be stored in a Google Drive Folder, and all Google Sheets will be written to that same folder. Additionally, this solution works under the assumption that there is a template that your organization likes to use for presenting the data. There will be one Google Slides template, and this presentation will be copied each time a new presentation is needed; data from that day’s Google Sheet will be written to the new copy of the template. All of the presentations will be saved in a Google Drive folder accessible to anyone who needs the presentation.
Script Logic - When the Python script is run, it will follow the set of rules -
Check if there is a Google Sheet with data for the current day in the Google Drive
No - If there is no Google Sheet for current day, then do nothing
Yes - If there is a Google Sheet for current day, then
Check if there is a Google Slide presentation already available for the current day in the Google Drive
Yes - Delete the presentation and create a new one using the data in Google Sheet for the current day (There may have been a change to the data in the Google Sheet, so we need make sure we delete the old presentation and create a new one with the updated data).
No - Create a new Google Slide presentation using the data in Google Sheet for the current day
In addition to the video, are some screenshots and descriptions (on hover) that can help illustrate how this solution is set up. Use the side arrows to navigate the gallery below.


How I Did It
Create Google Cloud Project & Authorize Requests with OAuth 2.0 - Google Cloud projects form the basis for creating, enabling, and using all Google Cloud services including managing APIs. The application must use OAuth 2.0 to authorize requests to the Google APIs. All requests to the APIs must be authorized by an authenticated user
Access Google APIs from Python Script - Set up Credentials, Scopes, and Google APIs Client Library for Python
Make API Calls - Make various API calls using different Google API scopes which will make a copy of the reporting template and add data, charts, and text from a Google Sheet and script to the new copy of the presentation
You can view the full script here
Create Google Cloud Project & Authorize Requests with OAuth 2.0
To start using the Google Workspace APIs, you’ll first need to create a Google Cloud Platform (GCP) project. This project forms the basis for creating, enabling, and using all GCP services, including managing APIs. Google has a step-by-step guide that you can follow that walks you through how to create a new GCP project and enable one or more Google Workspace APIs.
After doing so, you’ll need to set up credentials for your project. Every request your application sends to the API must include an authorization token. The token also identifies your application to Google. Your application must use OAuth 2.0 to authorize requests. You can use the steps listed here to set up your credentials. You can also learn more about using OAuth 2.0 to access Google APIs here.
If the steps listed in those links are a little tricky to follow, please use the screenshot and hints below that I found useful in this setup stage. Once you have your project set up, go to Dashboard and click on + Enable APIs and Services. For this project, you’ll need to add the Google Drive API, Slides API, and Sheets API. You can see in the screenshot below how many requests I’ve made using my application.

Next, go to Credentials and set up your OAuth 2.0 Client IDs. Once you do so, use the download button to get your credentials and store it in the same folder that you will save your Python Script in. These credentials are saved as a .json and will allow you to authenticate your application to be able to use the Google APIs. Save this file in your folder as credentials.json.

When setting up, the OAuth 2.0 Client IDs you’ll be asked to set an Authorized Redirect URI. Because I am using a local Jupyter Notebook for the development of this application, I set my URI as http://localhost:8888/.

Next, you’ll need to set a Test User. When you successfully run your application from your notebook, you’ll be prompted to choose a Google user that has access to use the project. You need to set that user here. I used my personal gmail account for the purposes of this project, but you can use whatever you’d like, although I’d suggest a Google account for ease of use. Lastly, one thing you may find is that your application throws you an error that states your token is no longer valid, even though your script may have perviously run successfully. To fix this, in the screenshot above, you’ll see the Reset Secret button. Click on this, re-download the client secret (overwrite your credentials.json), and delete a file in your project folder called token.json. Re-run your script, and this should fix the issue.

Access Google APIs From Python Script
Before your application can access private data using a Google API, it must obtain an access token that grants access to that API. A single access token can grant varying degrees of access to multiple APIs. A variable parameter called scope controls the set of resources and operations that an access token permits. During the access-token request, your application sends one or more values in the scope parameter. In the code block below, you can see that I have set the scope to be 'https://www.googleapis.com/auth/spreadsheets.readonly', 'https://www.googleapis.com/auth/drive', and 'https://www.googleapis.com/auth/presentations'. You can find a full list of scopes and their descriptions here. If you choose to use more than just Google Drive, Sheets, and Slides in your application, you'll need to add more scopes than the ones I have listed.
The code below is largely taken from the Google Slides API Python Quickstart documentation. While I had to build on this code to complete my project , this quick start code provides a good foundation that allows you to establish a connection to your Google Cloud Platform (GCP) project using “Google Approved” code. This documentation additionally describes the required steps to create a simple Python command-line application that makes requests to the Google Slides API. The steps and prerequisites listed there are extremely valuable in getting started.
Make API Calls
If you want to check out the full script while following along with the code blocks in this section, you can view/download it from my GitHub repository.
The first step of building our application is authenticating our Google Drive API service. To do this we need to pass our credentials to the respective API services so that we can make calls to the APIs later on. I couldn’t find a single location where all of these are documented, but the best place to find them is by searching for the Google Python Quickstart guides for the Google Workspace API (i.g. Google Sheets Quickstart).
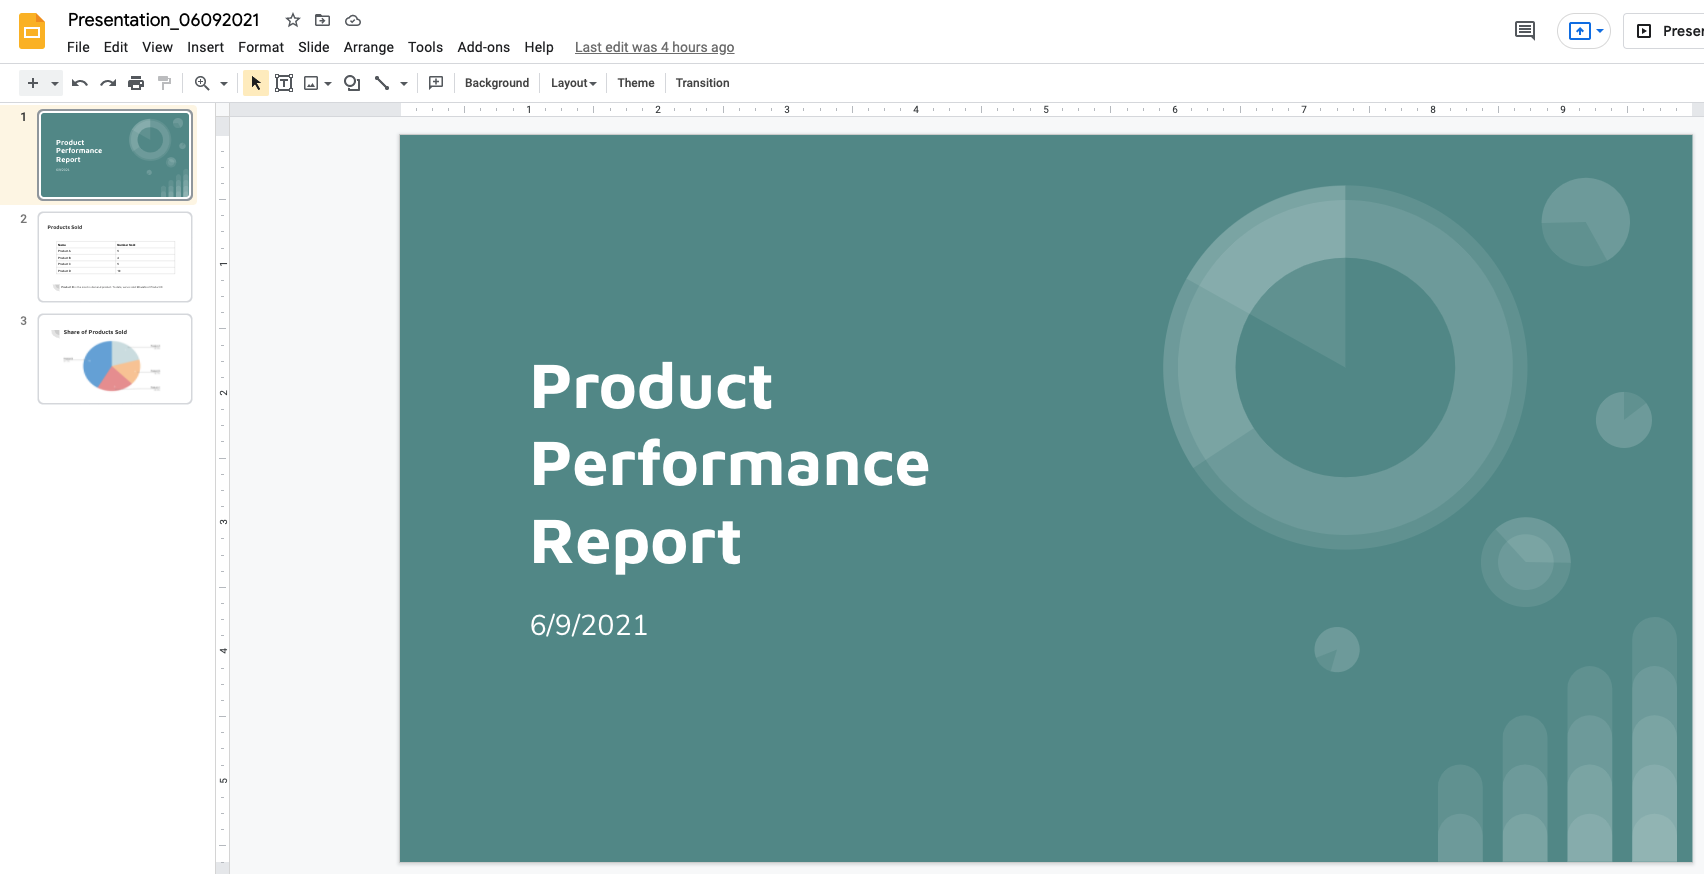
Next, we’ll use some date functions for the naming of files and for adding the date to our presentation title slide. The todays_date variable will return a date like 06082021, whereas the variable presentation_date will return a date like 6/8/2021. One is better for file naming convention while the other is better for readability on a presentation. You’ll see these variables used throughout the script.
The rest of the solution is broken out into three separate functions; sheet_check(), slide_check(), and slide_creation(). Let’s first start with sheet_check(). This function searches for a Google Sheet in the Drive saved with the naming convention 'Metrics_' + todays_date (e.g. Metrics_06092021). If there isn't a Google Sheet available in the drive with that naming convention, then the script prints 'No New Data Available Today' and takes no action. On the contrary, if there is a Google Sheet available in the drive with that naming convention, the script will run the slide_check() function.
As mentioned above, if there is a Google Sheet available in the drive with the appropriate naming convention for the current day, the script will run the slide_check() function. This function, will search for a Google Slide in the drive saved with the naming convention 'Presentation_' + todays_date’ (e.g. Presentation_06092021). If there isn't a Google Slide available in the drive from the current day with that naming convention, run slide_creation(). Otherwise, if there is a Google Slide available in the drive from the current day with that naming convention, delete it and run slide_creation(). We want to delete the presentation and create a new one in case the data in the Google Sheet had been updated or changed. We want to reflect these updates in our newly generated presentation.
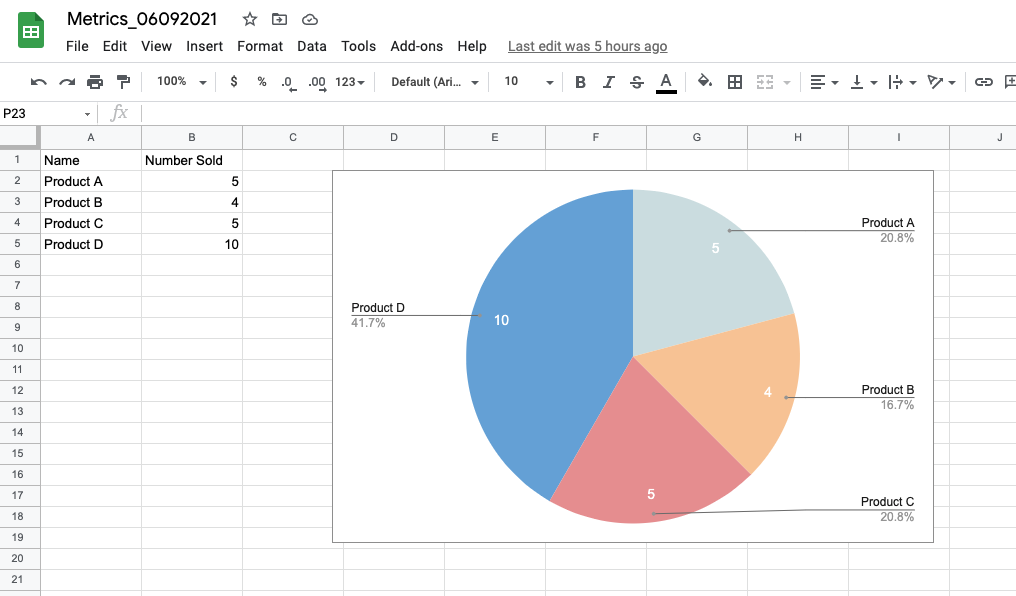
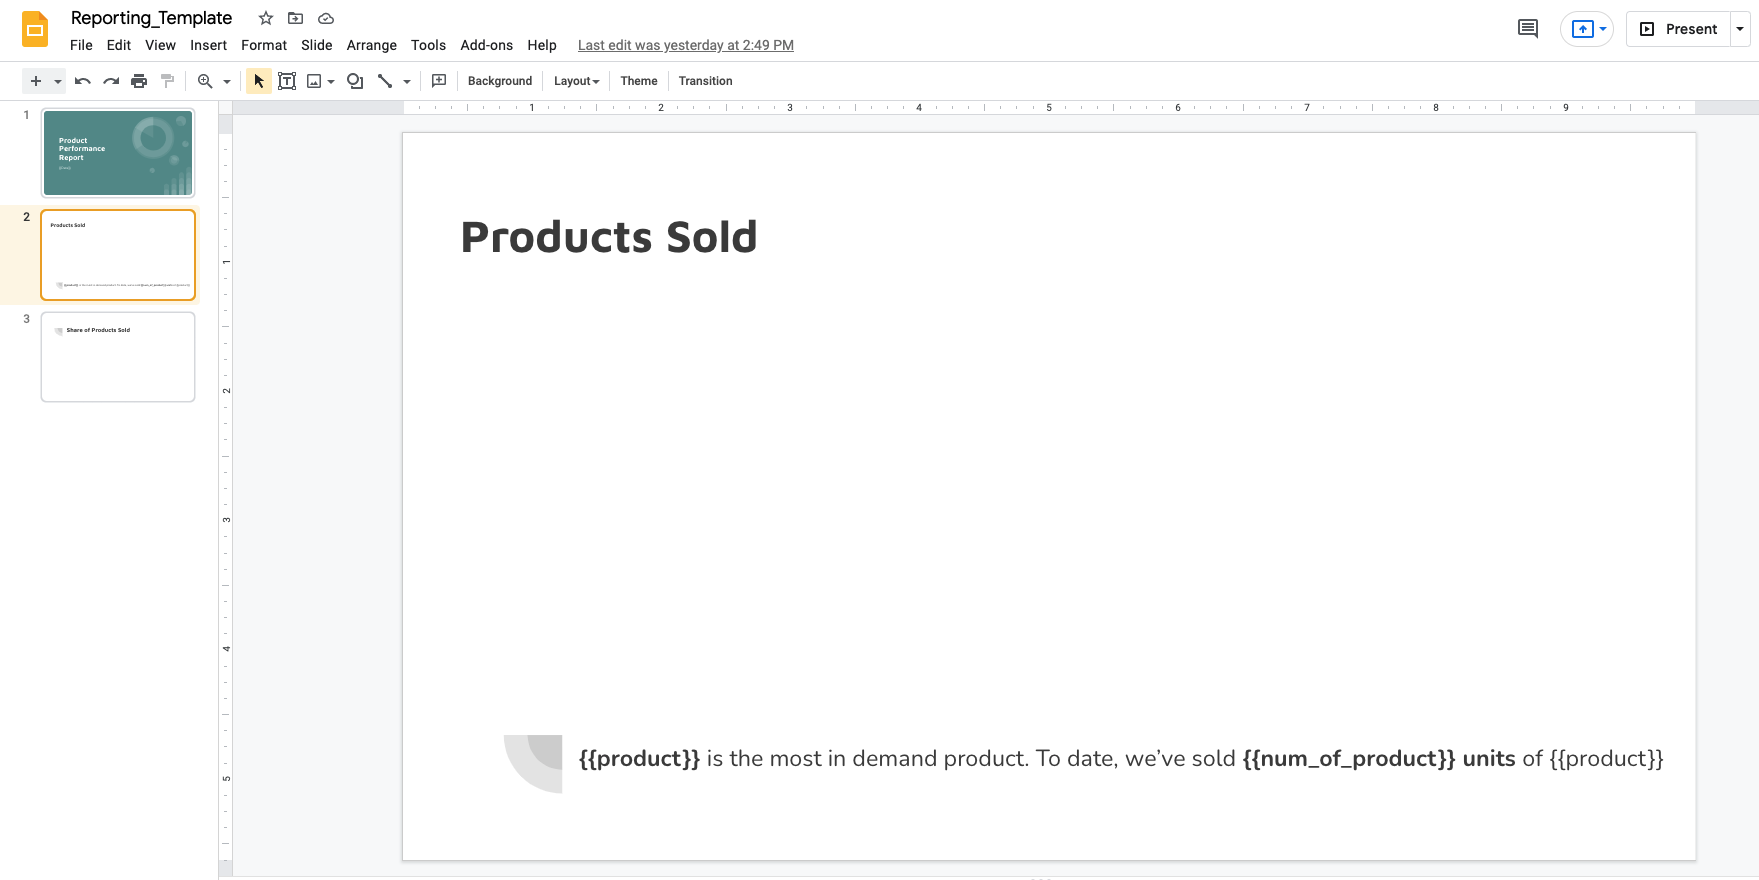
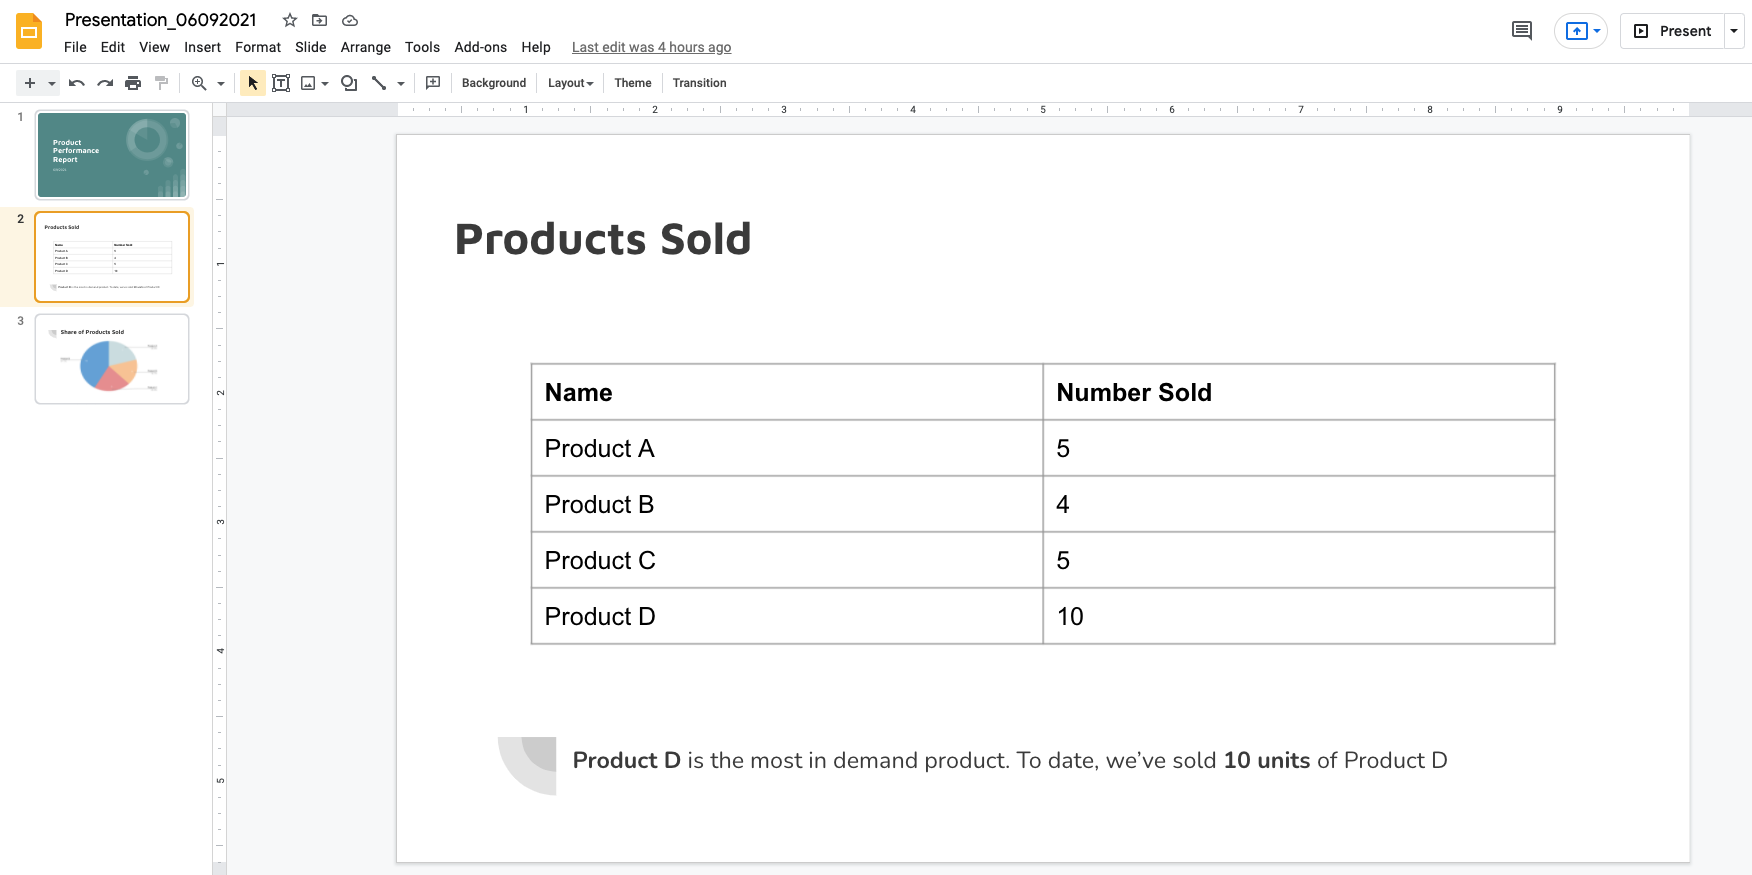
Once the script determine if a presentation needs to be generated, the slide_creation() function will be run. Please check out the annotations in the code block below for a step-by-step description of what slide_creation() does. In summary, slide_creation() will take data from the Google Sheet and add it to the Google Slide. For example, the table of products and number of products sold, in addition to the pie chart will be added to slides two and three of the presentation, respectively. This slide generation function also handles the formatting and positioning of these objects as well as updates to the parameters in the presentation (i.g. {{Date}}) using values we set in the function. Check out everything this function does in the code block below.
Last thing to do at the end of the script is to run sheet_check(). To recap, running this function will look for a Google Sheet from the current day’s date in the Google Drive. If none exists, the script will not do anything. Otherwise, slide_check() will be run. If there is already a slide for the current day, it will be deleted and another one will be generated. If there isn’t a presentation for the current day, slide_check() will generate a new one by running slide_creation(). With these three functions, you can automate Google Drive, Google Sheets, and Google Slides to handle the painstaking task of report generation. You’ll never have to copy and paste data into a presentation AGAIN.
I really hope you enjoyed this post and ultimately learned something new, since I certainly did during this project. If you’d like to view the whole script or download it, you can do so here. If you have any questions about what I wrote here, or just want to leave some feedback about this post, feel free to do so in the comment section below. If you’ve read some of my previous posts, you’ll know that I am learning Python, and through blogging, I’m improving my skills with these personal projects and exercises that are in my areas of interest. If you’d like to work on a project together or want to recommend ways to improve this script, please do not hesitate to reach out. Thanks for reading.